Here you can look out a simple exemplification how to create the Photoshop icon. The rules are simple, all you have to do is follow the instructions.
We will supply you with all necessary information, links and screen shots, for completing this tutorial. You can enlarge every tutorial image provided bellow.

Made with the new Photoshop CS3 but will most likely work with previous versions up to at least 7.
Step 1. New Document.
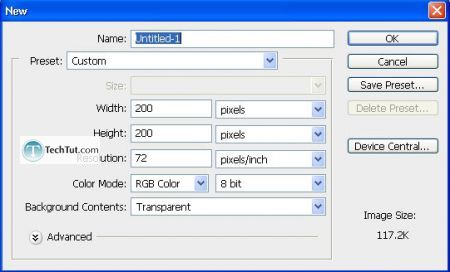
RGB, 8 bit, 200px by 200px.
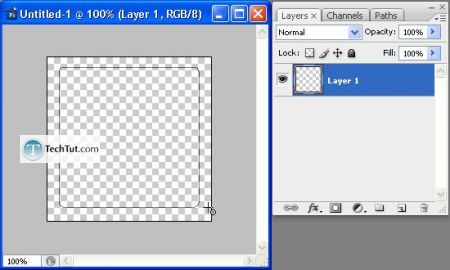
Step 2. Get out the Rounded Rectangle Tool.
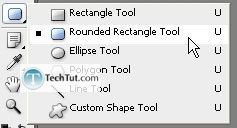
With the following settings:

Hold down “Shift” while making this shape to make a perfect rounded square.
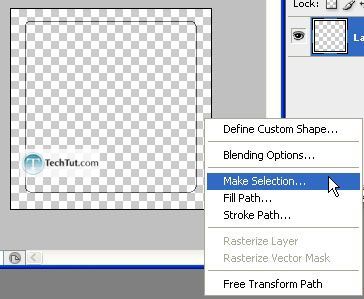
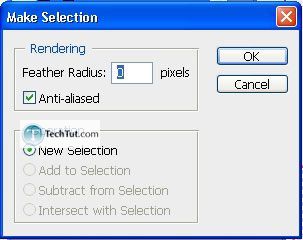
Right-click and then “Make Selection”.
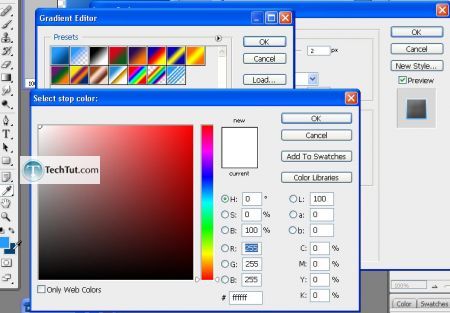
Foreground color:
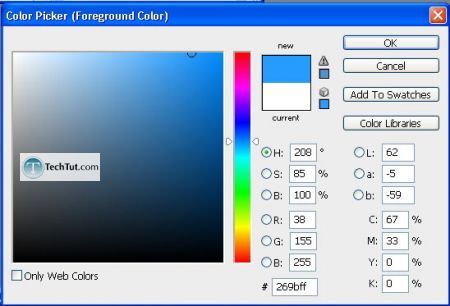
Background color:
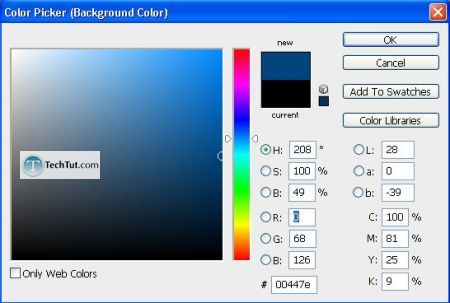
Gradient settings:

Make a gradient like such:
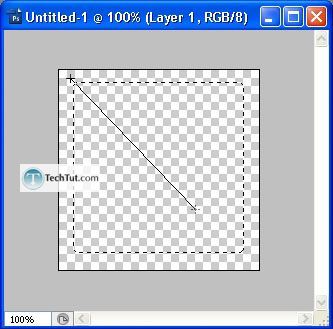
And if you press “Ctrl + D” to deselect the selection, then it should look like this:

Step 3. Add a Bevel and Emboss.
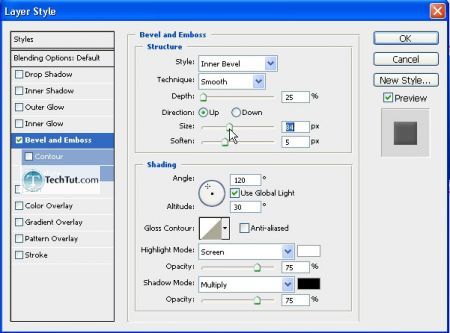
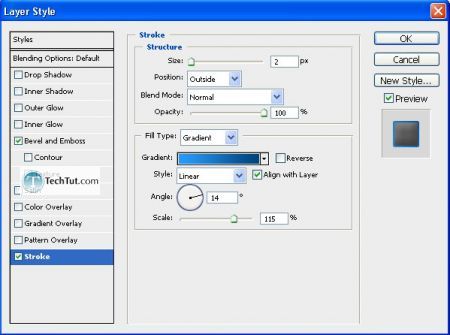
Add a stroke next:
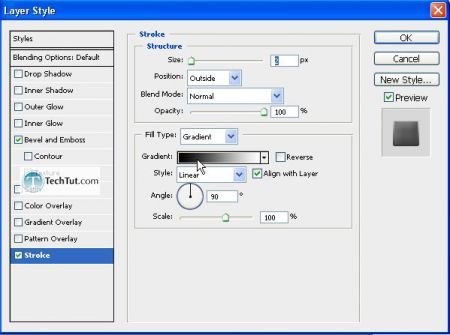
Step 4. Enter in “Ps” in white text:
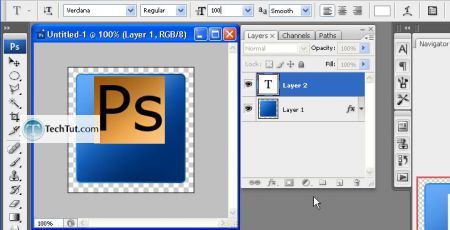
Now, let’s add in a reflection. Create a new layer but Ctrl + Click on the main layer where our main shape is.
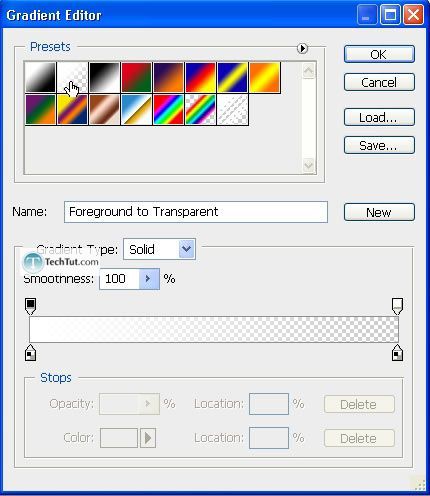
With a white foreground, make sure you have these following gradient shapes:
Make the following marquee selection (or something similar):
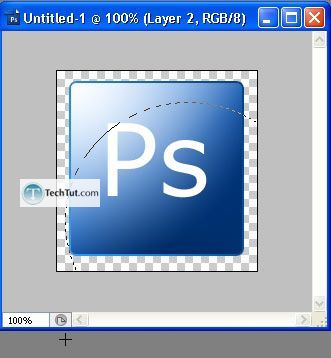
Now press “Del”.

And finally lower the opacity to 60%.
Step 5. Adding in a glow and, of course, the white background.
Create a new layer below all others. Press “D” to reset to black foreground and white background. Press “X” to switch those two. Then Alt + Backspace to fill with white.
Double-click on our main layer:
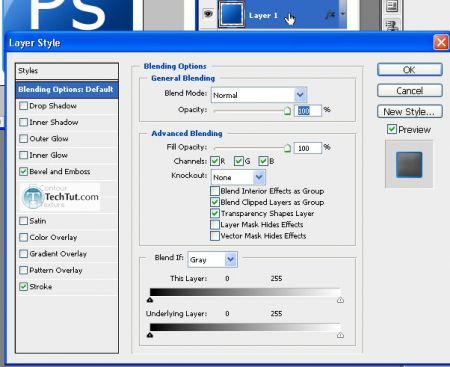
And then set an outer glow:
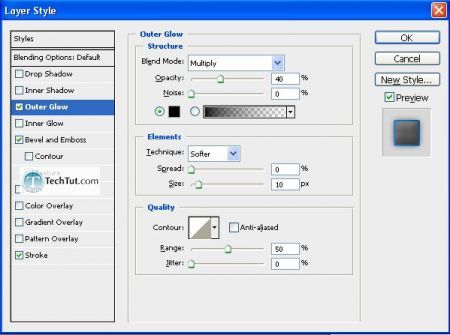
Alternatively, you could have set a drop shadow, but there we have it: our own CS3 Icon!
Final:






0 Comments:
Post a Comment